Customers Overview
Customers are logical elements in the system, usually representing termination partners, resellers, or virtual customers you create for such purposes as keeping track of pre-paid cards. A Customer can have several Accounts associated with it. The Accounts associated with a Customer may represent individual users of a product, such as pre-paid cards, or may identify different SIP UAs (e.g. phones or individual ports in multi-port devices).
Customers are organized hierarchically so that one customer may “own” one or more sub-customers.
There are two basic types of customers: the Root Customer and all other customers. The two types of Customer differ in that a Root Customer doesn't have an upper-level Customer who “owns” it. For that reason, a Root Customer either directly or indirectly (via its sub-customers) bills other Customers in the system. The Root Customer usually represents the owner of the switch. Unlike any other Customer in the system, the Root Customer is not billed through the software for calls made by its Accounts or sub-Customers. Also, by default, only the Root Customer has the right to view and/or modify system-wide parameters, such as routing configuration. The Root Customer can delegate some rights to sub-Customers via Permissions.
A Customer could be a company with an Account for each employee. The company can be invoiced for all calls made by its Accounts and, in turn, can invoice each Account for its particular calls. Alternatively, the company can allow each Account to be managed through credit vouchers.
The following figure illustrates this concept.

Here you can see a system with five Customers and three hierarchy levels. Note that the system doesn’t allow a Customer to see any other Customers above it. There is no way for Customer D, for example, to tell that there are other Customers above Customer A.
Adding, Updating, and Deleting a Customer
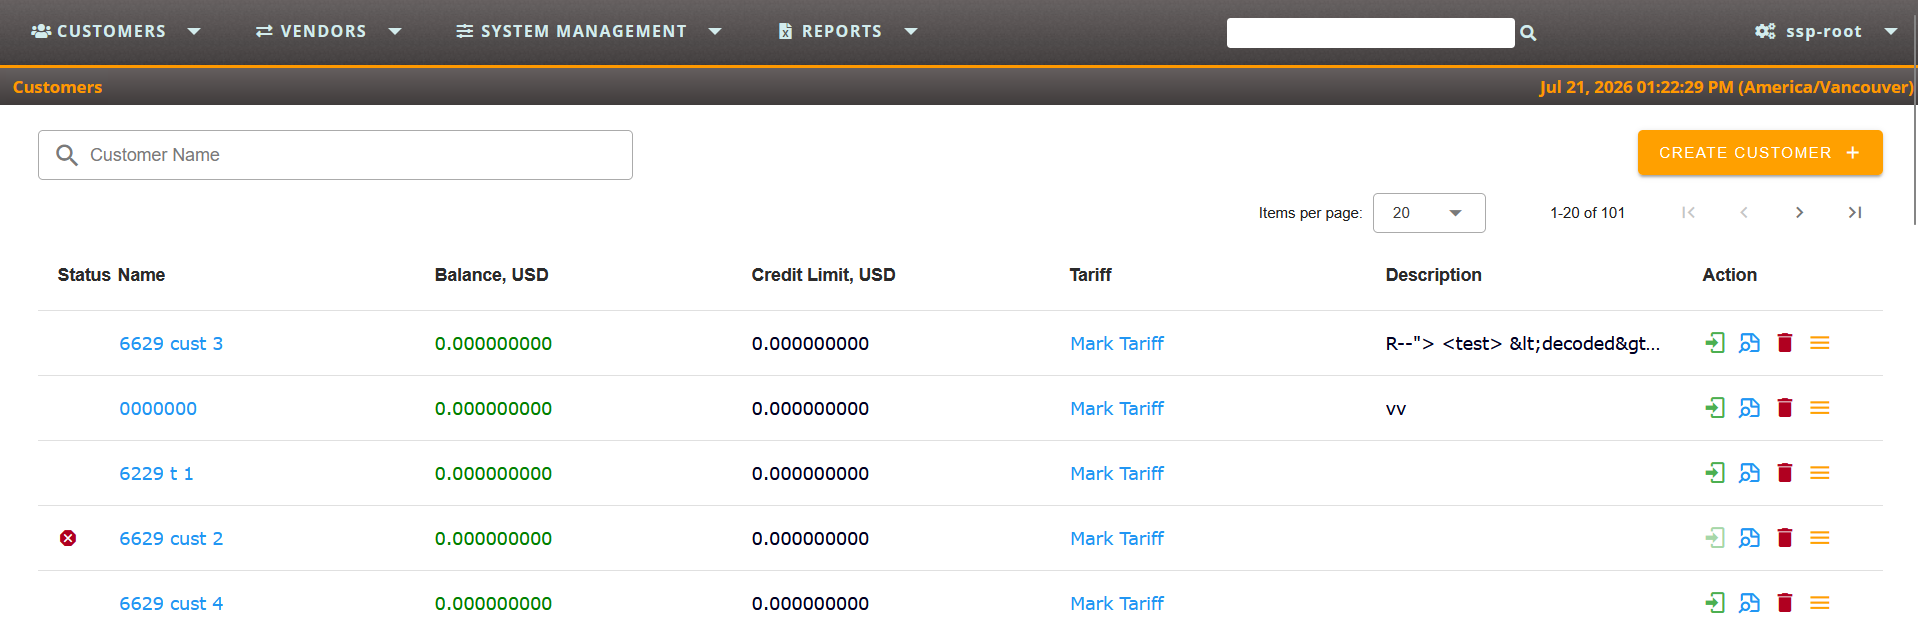
Navigate to the Customers page from Customers - My Customers section on the menu. On the Customer page (shown below), you can add, update, or delete Customers.
Add New Customer
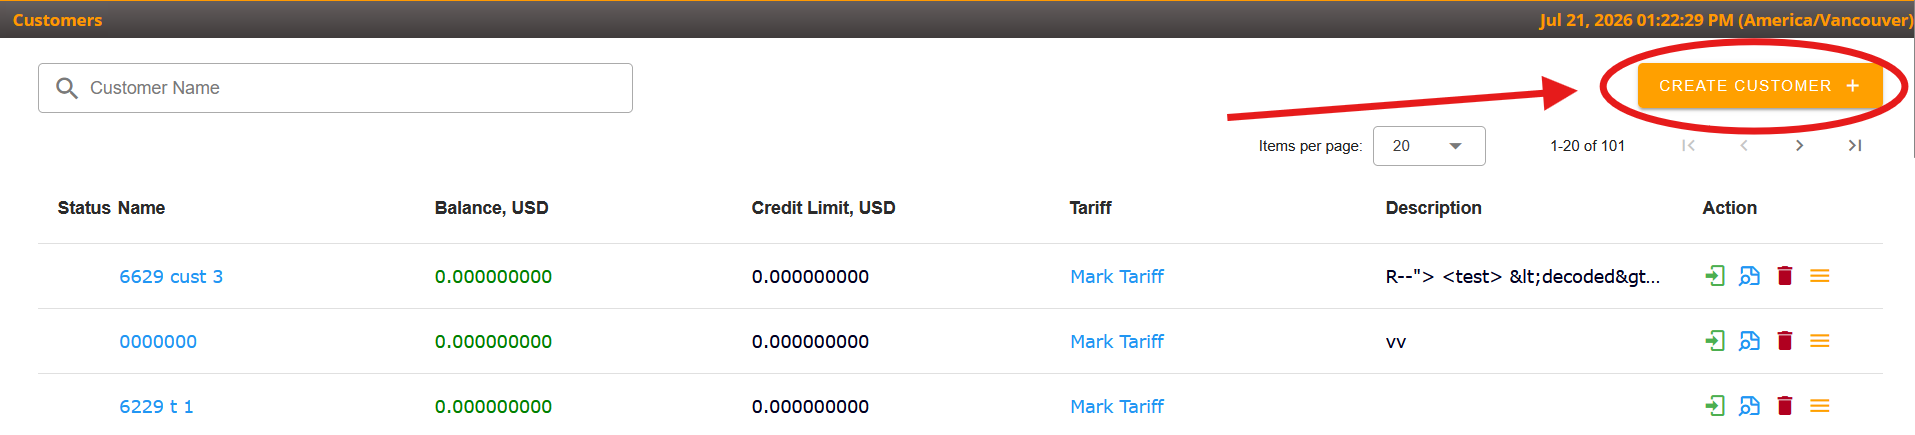
To add a new Customer, go to the Customers list and click the Create Customer button. Note that you cannot add new Customers without allocating a tariff to them, so you will need to make sure that you have a tariff that will apply to their calls.
The Add New Customer pop-up window is shown as below.
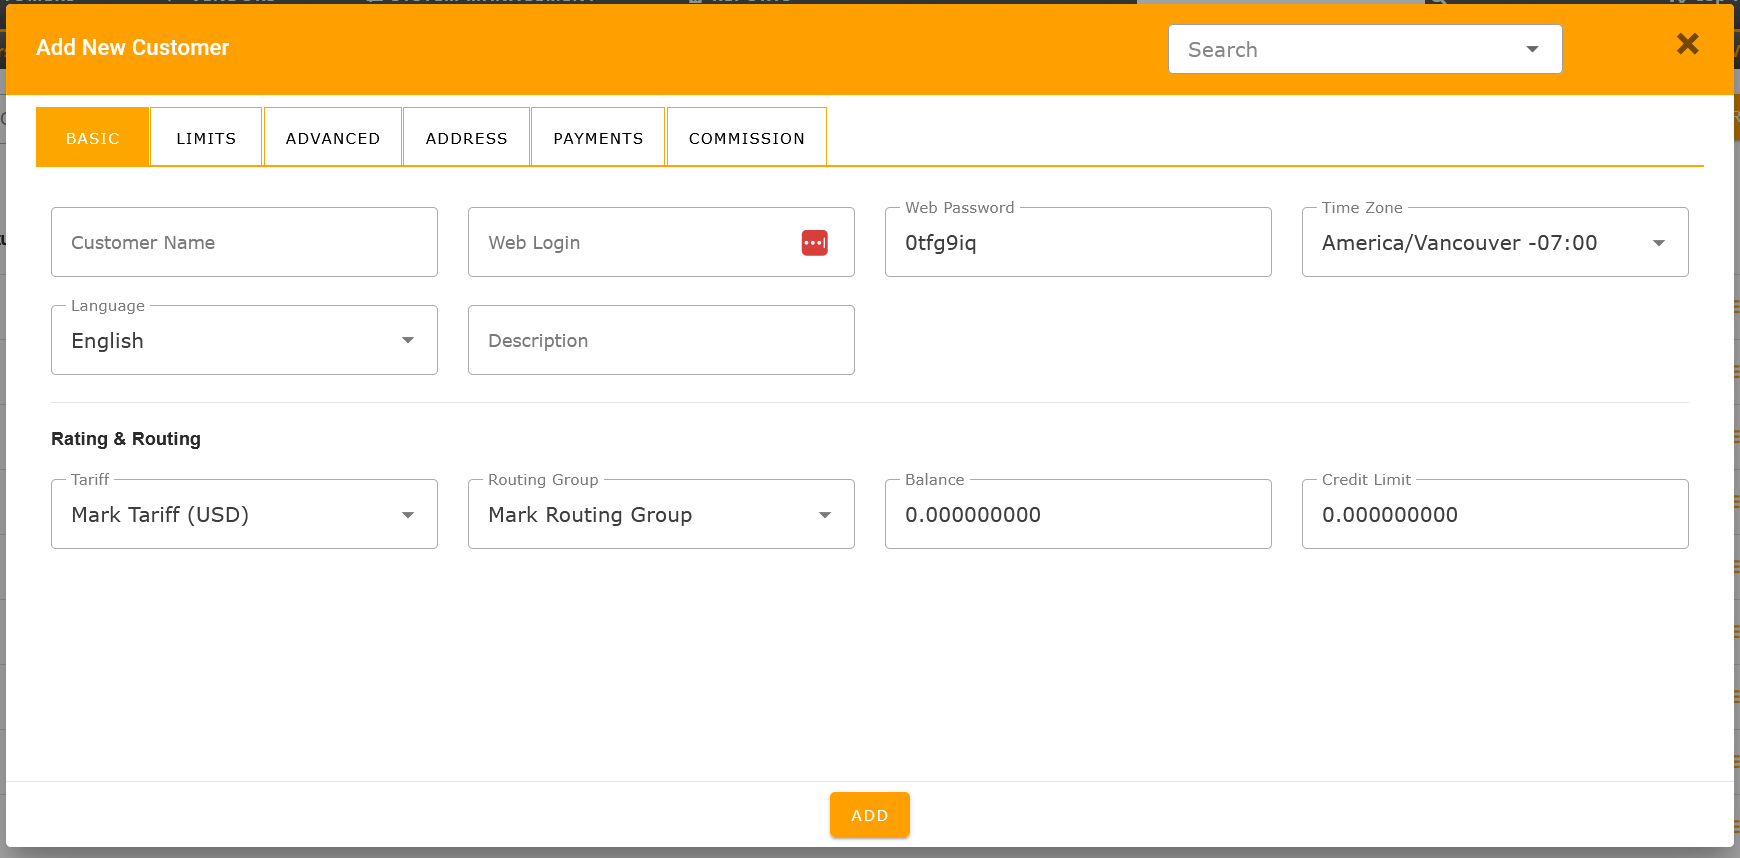
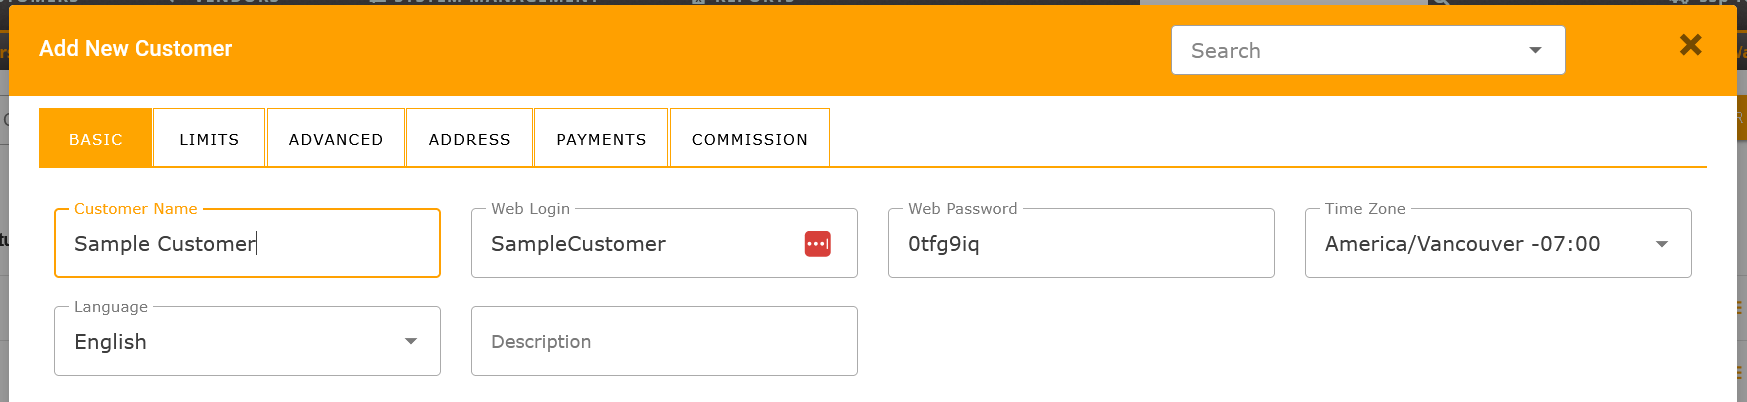
To Add a New Customer, enter your Customer's details. In the example below, the Customer's name is "Sample Customer".
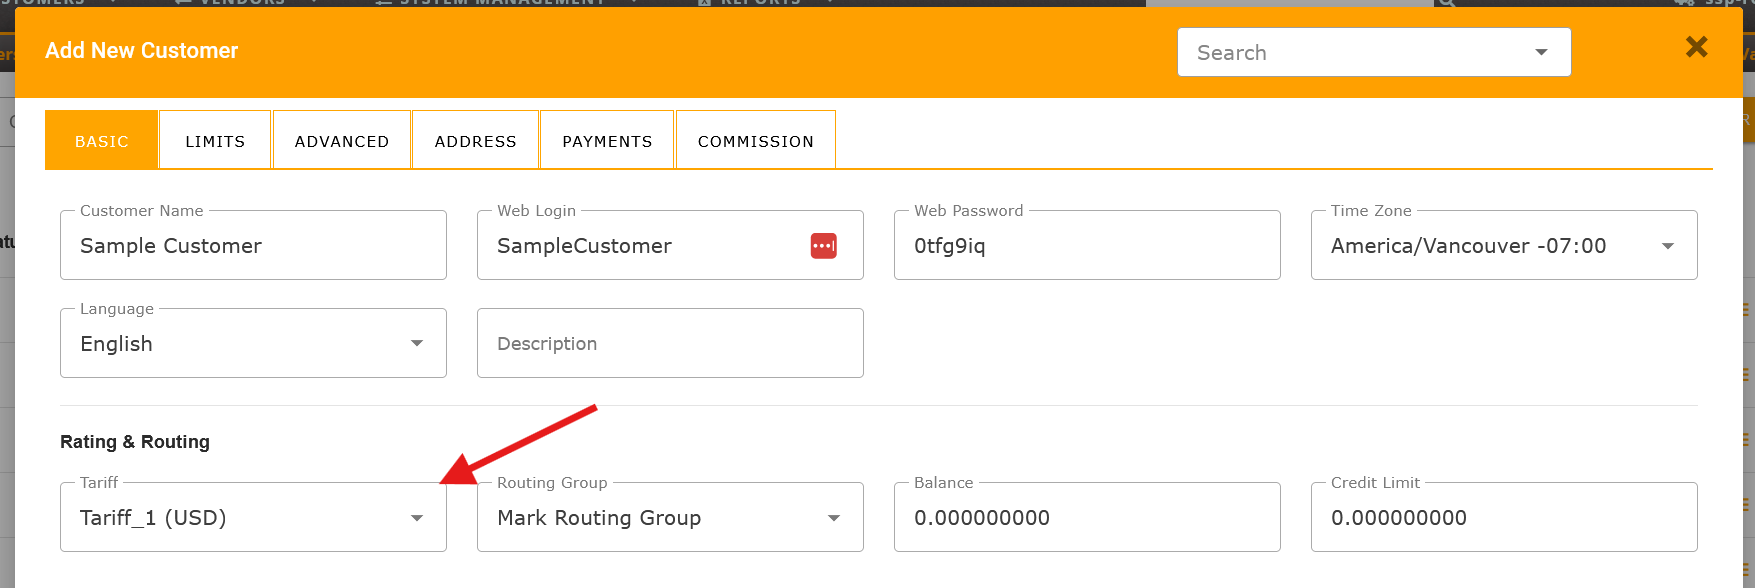
Select the Tariff that you will assign to your Customer from the drop-down box. Tariffs can be created and adjusted through the Tariffs page under Customers - Tariffs & Currencies on your Customer Menu.
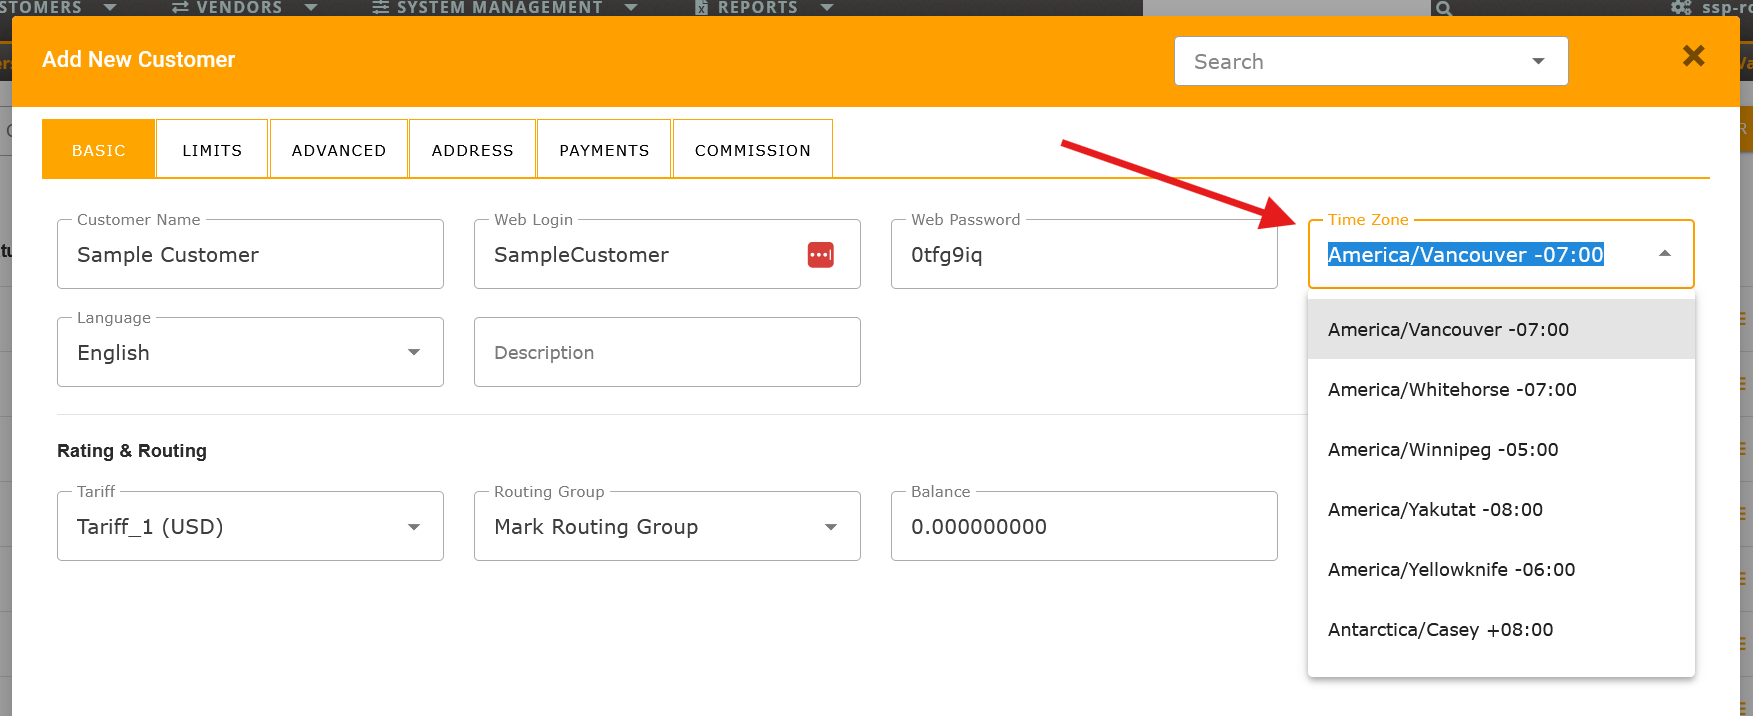
Next, select a Time Zone for the location of your Customer..
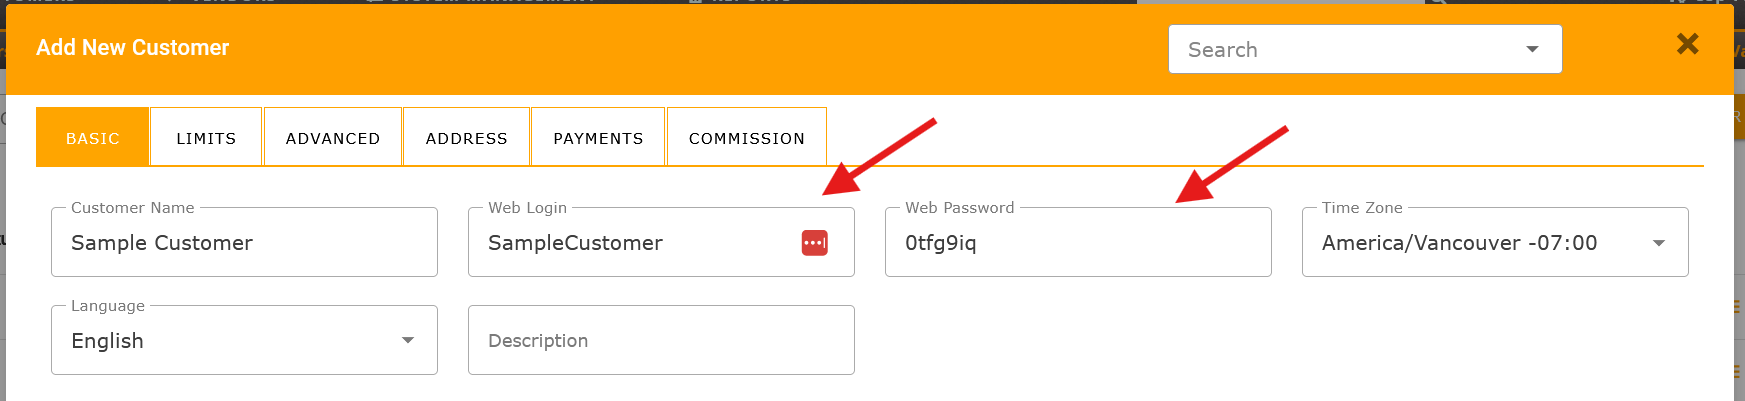
Set the Web Login and Web Password details for your Customer. Each Customer will have access to their own Web Interface to view Call Record details, create Customers and Accounts, and set up their own rates. Once your Customer begins to create Customers, they become a level 1 Customer. To their Customers, your Customer is the "Root Customer" as described in the "Customers Overview" illustration above.
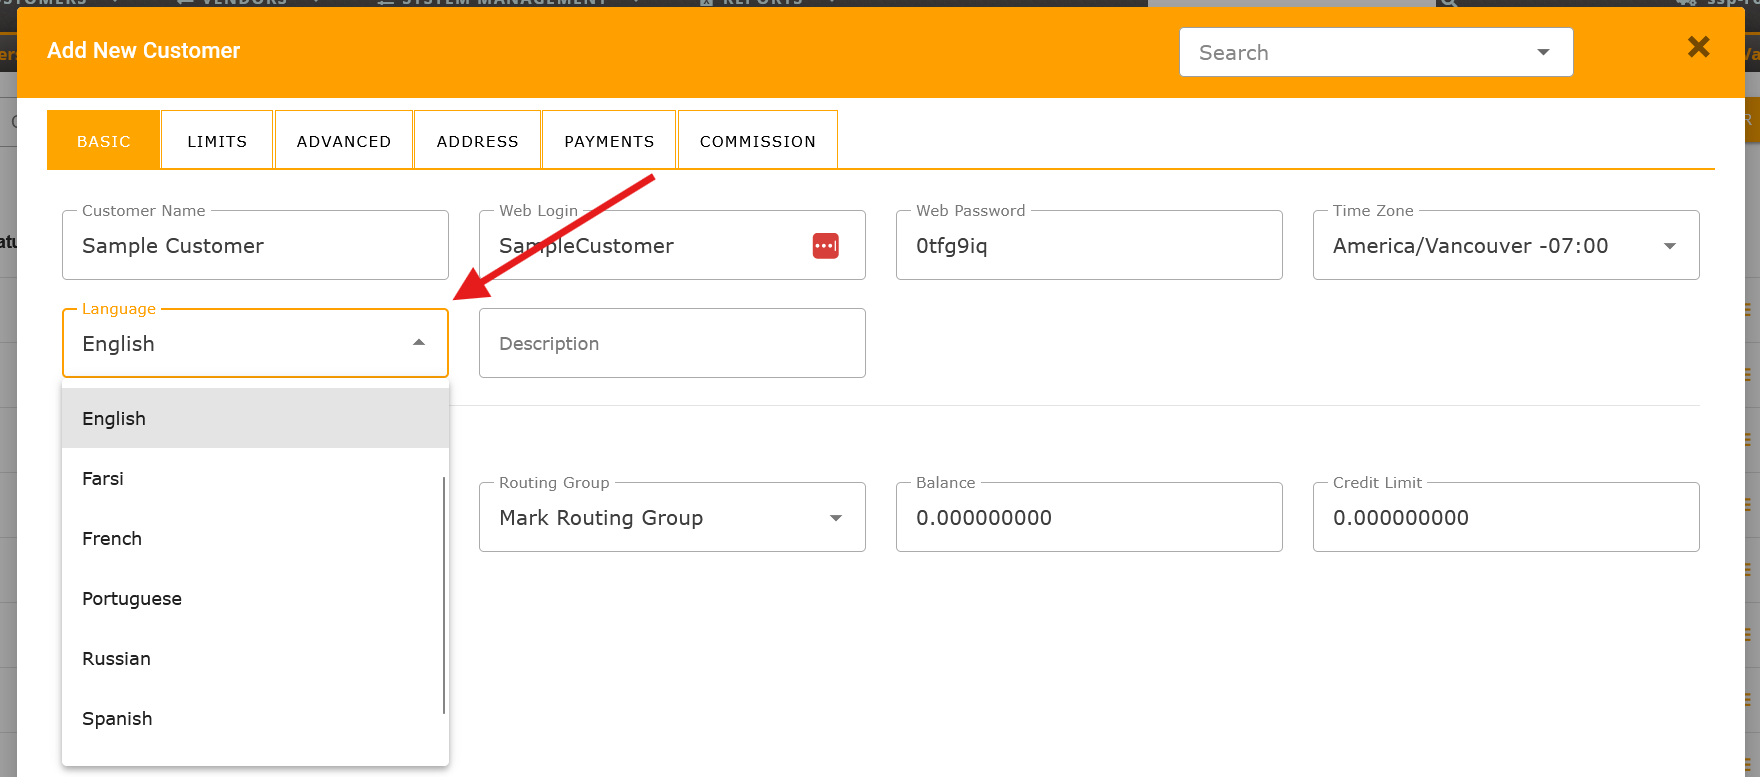
Select a Language from the drop-down box for your Customer. Setting the Customer's language will set most of the Customer's web interface menu options and reports to their desired language.
Enter Balance and Credit Limit details for your Customer.
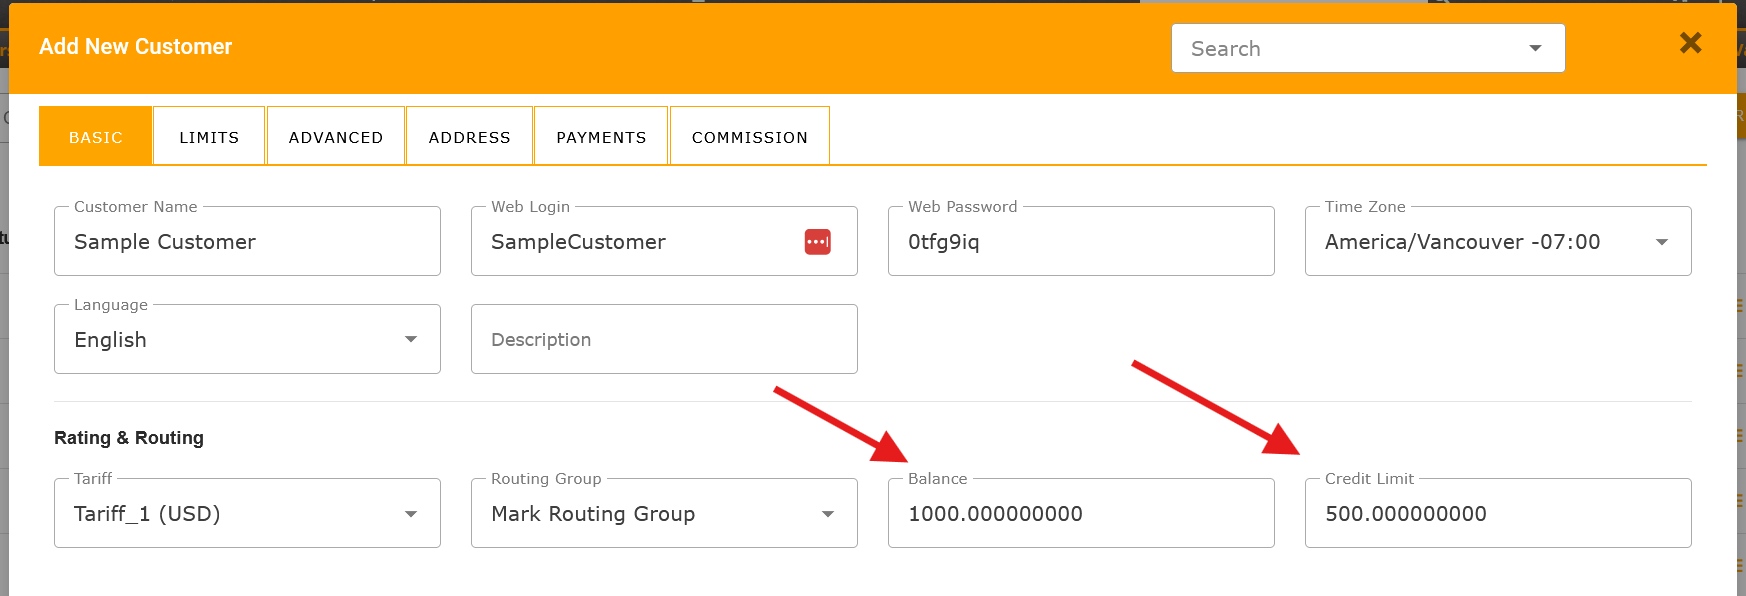
If needed, make the changes to other options on Limits, Advanced, Address, Payments and Commission tabs.
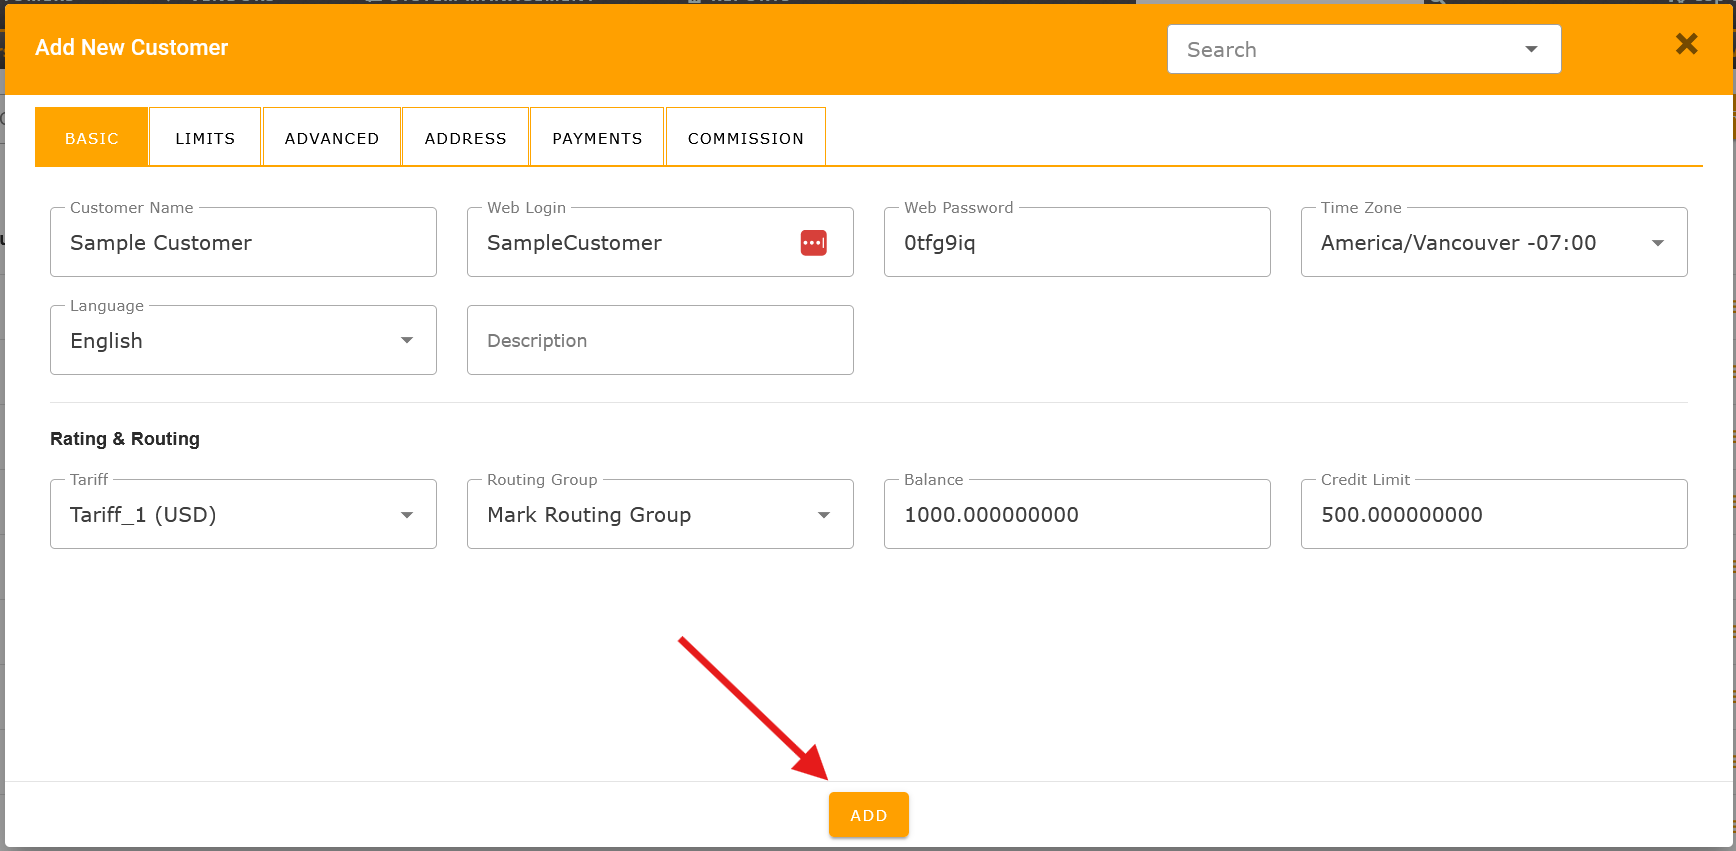
When you are done, select ADD.
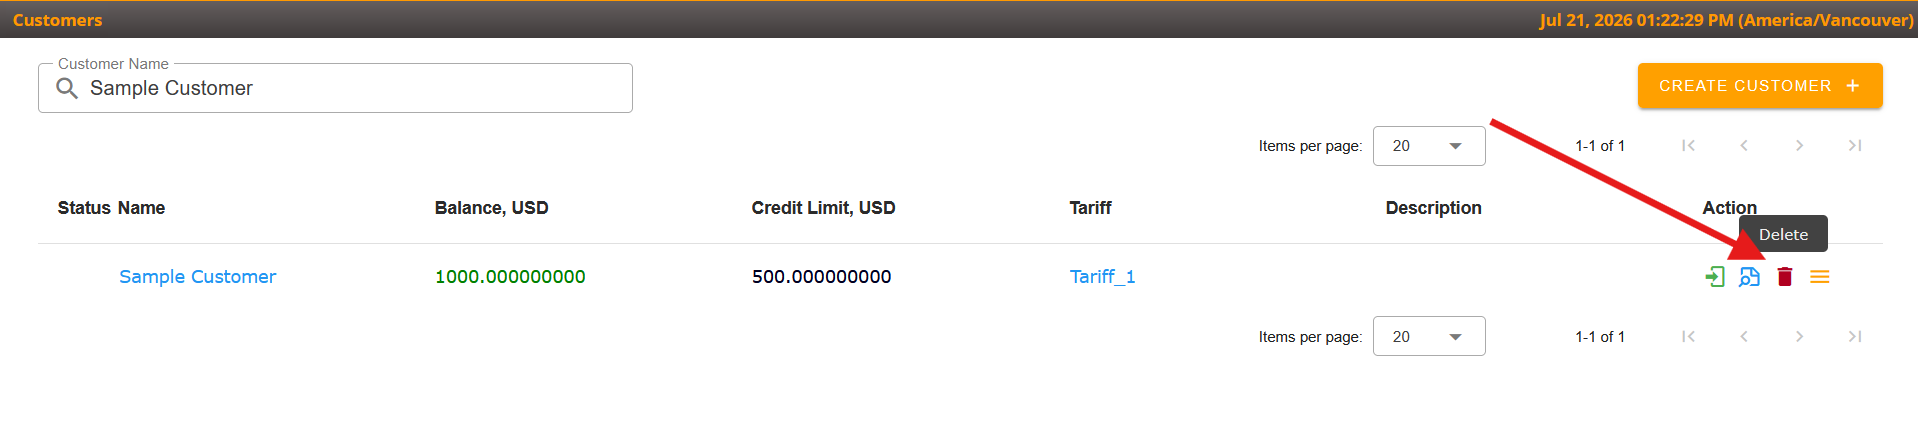
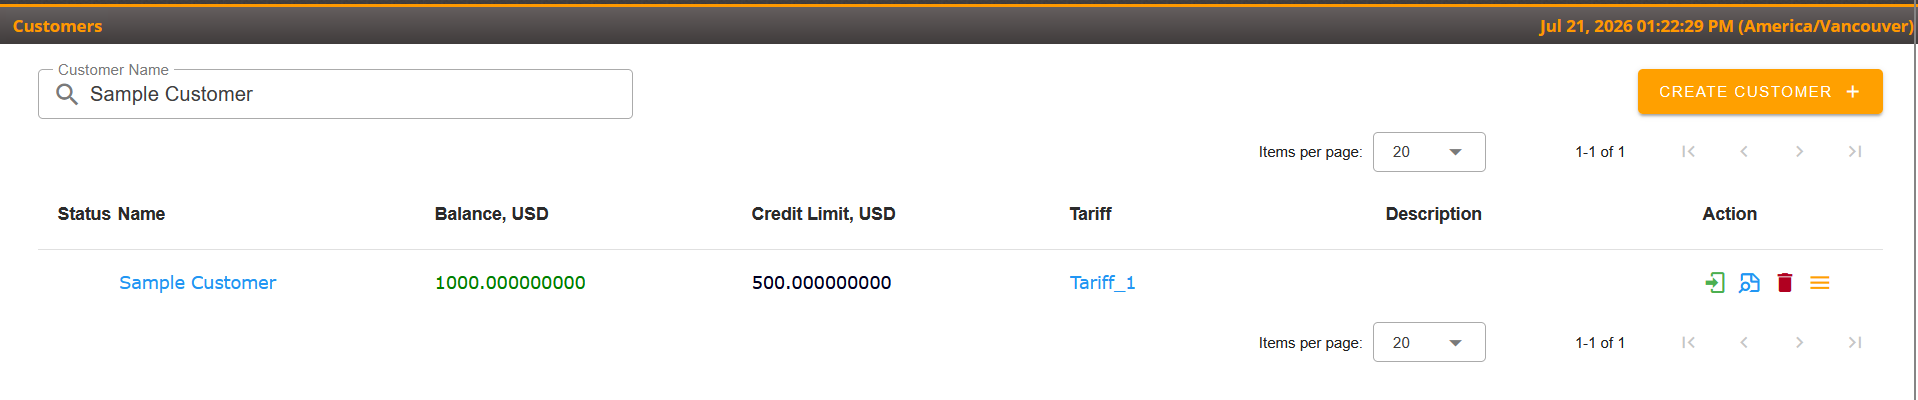
Once you add a new Customer, it will be listed on the Customers page as shown below:
Updating an Existing Customer
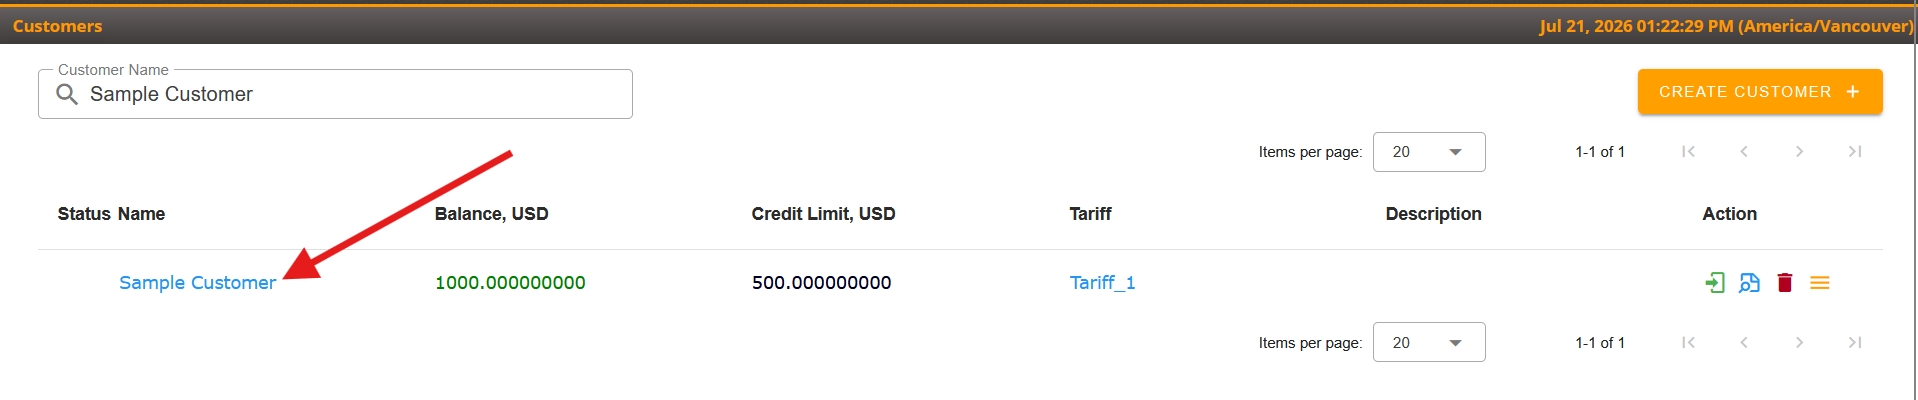
To update an existing Customer, locate the Customer you wish to update in the list of Customers.
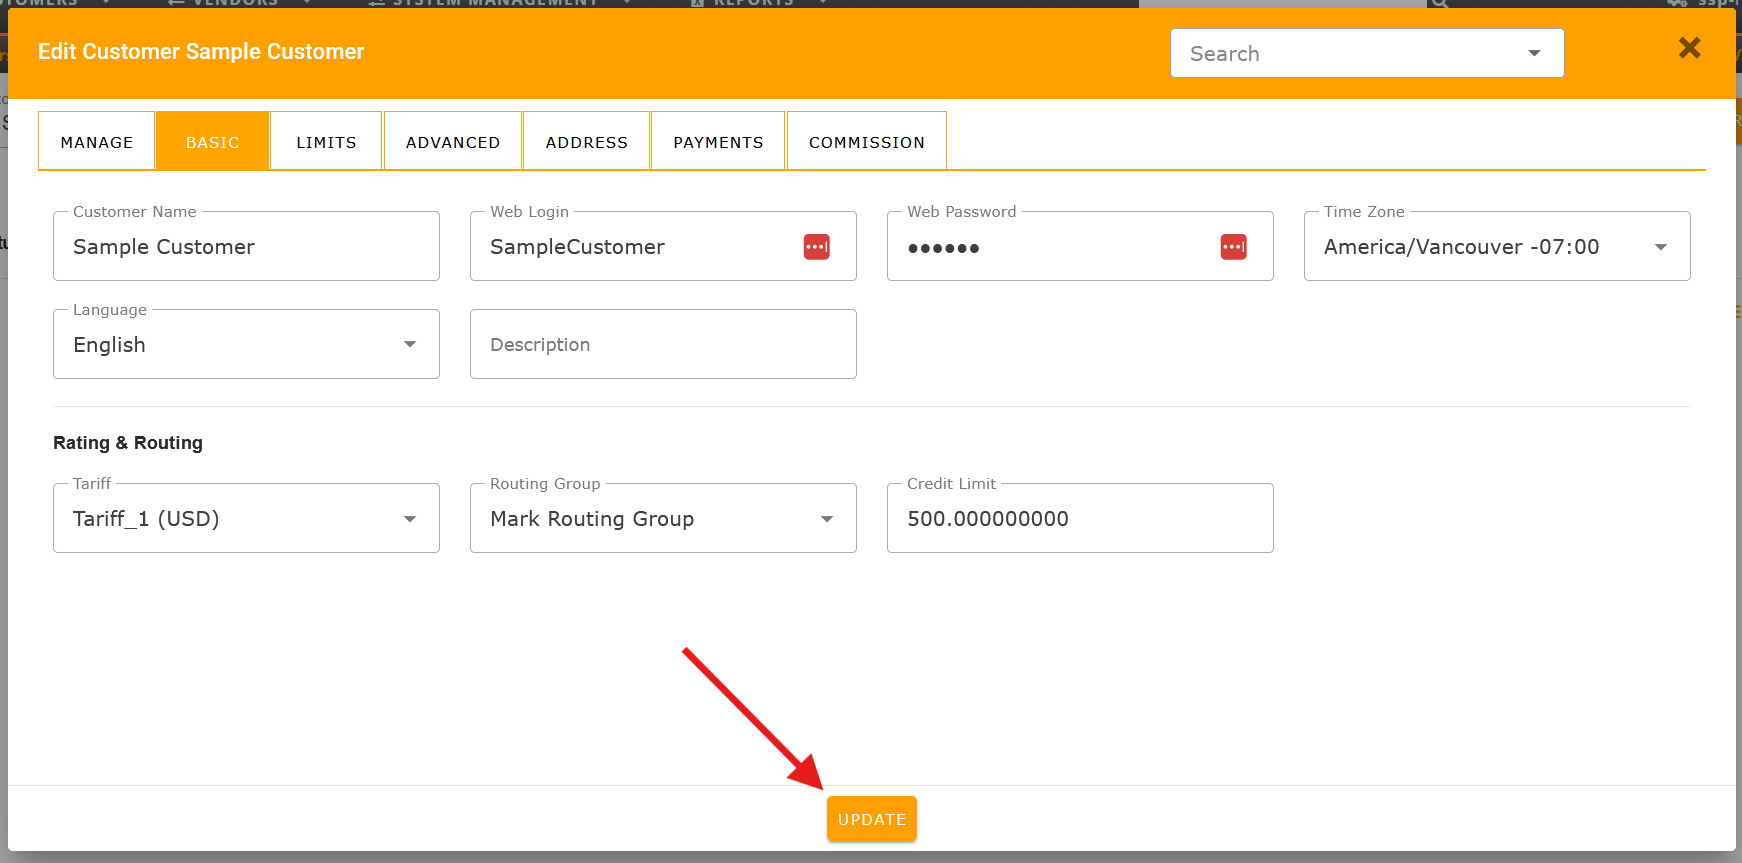
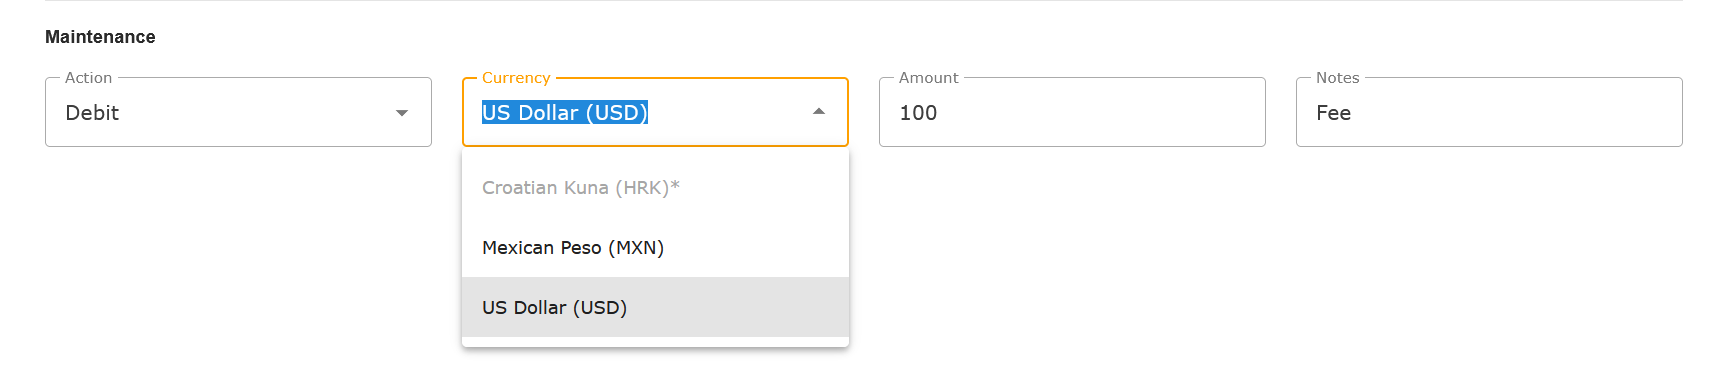
Note that the Customer's Balance cannot be adjusted for existing customer by directly modifying the field. The Balance can be adjusted through the Maintenance section on the Manage tab by applying the selected action (Debit/Credit/Add Funds)
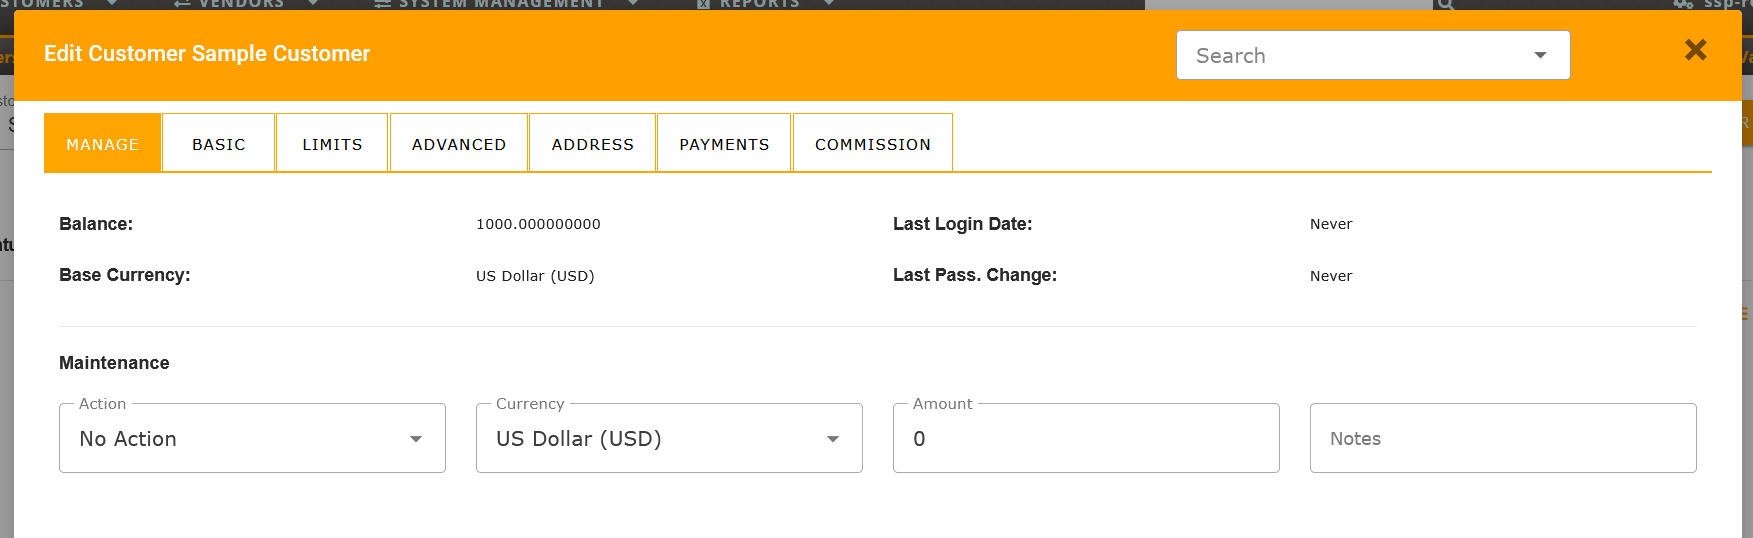
Select the desired action from the Action drop-down box.
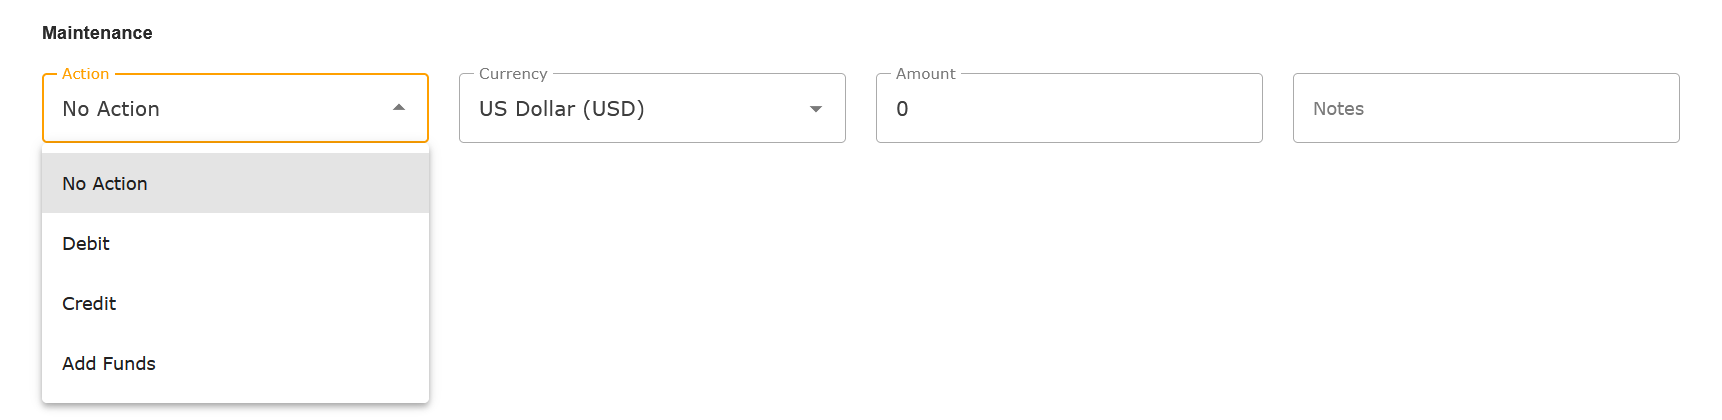
Enter the Amount and associated transaction Notes that you wish to apply to your Customer's account.

A choice of Currency for the transaction is shown in the drop-down box and is available for you to select.
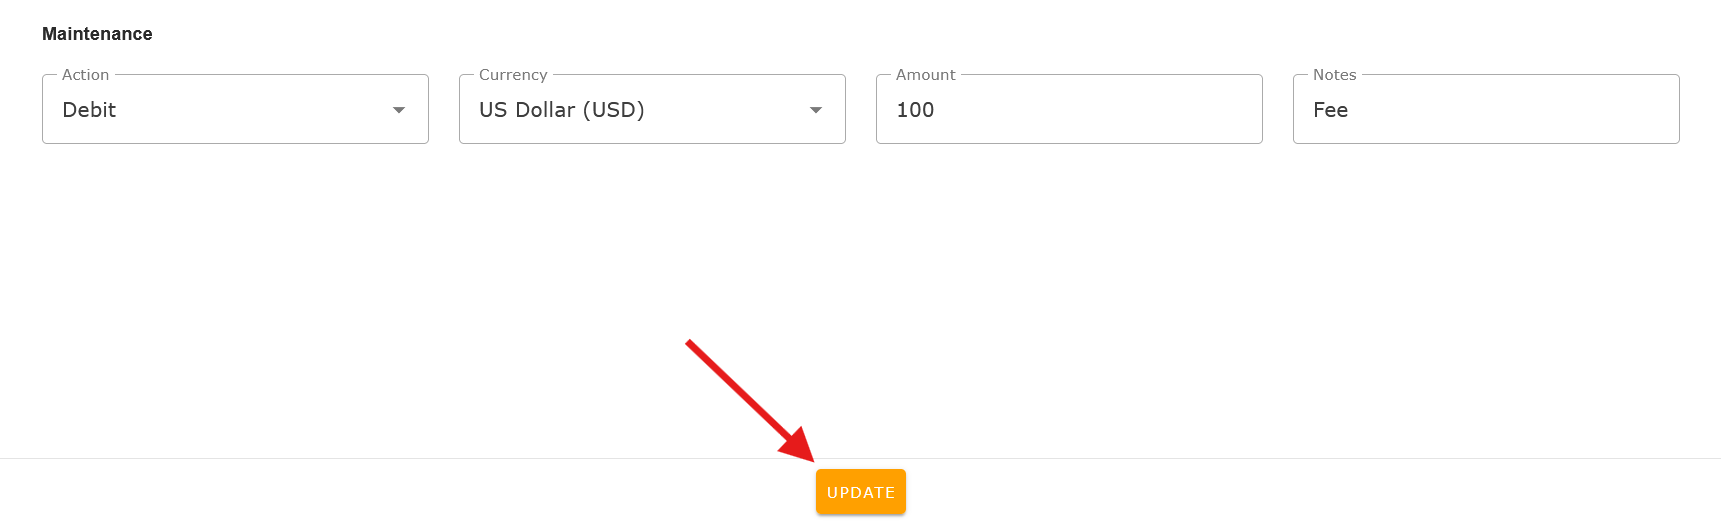
To complete the transaction on your Customer's account, you must click the UPDATE button.
Deleting an Existing Customer